
Your cart
There are no more items in your cart
Growing Artichokes: Complete Cultivation Guide
Categories :
Chronology
, Vegetables
Index
Artichoke planting
Period for planting artichokes
1. Transplanting Phase: Encouraging Rooting
2. Fertigation at 10-12 Days to Strengthen Roots
3. Leaf Treatment at 15-20 Days After Transplanting
4. Fertigation at 15-20 Days: Calcium and Magnesium Supply
5. Foliar Treatment at 30-35 Days: Strengthening Defenses
6. Artichoke Hormonization (Starting at 8-10 true leaves)
7. Maintenance Fertigation
Monitoring and Preventive Treatments
Faq (frequently asked questions) on: artichoke how to grow it
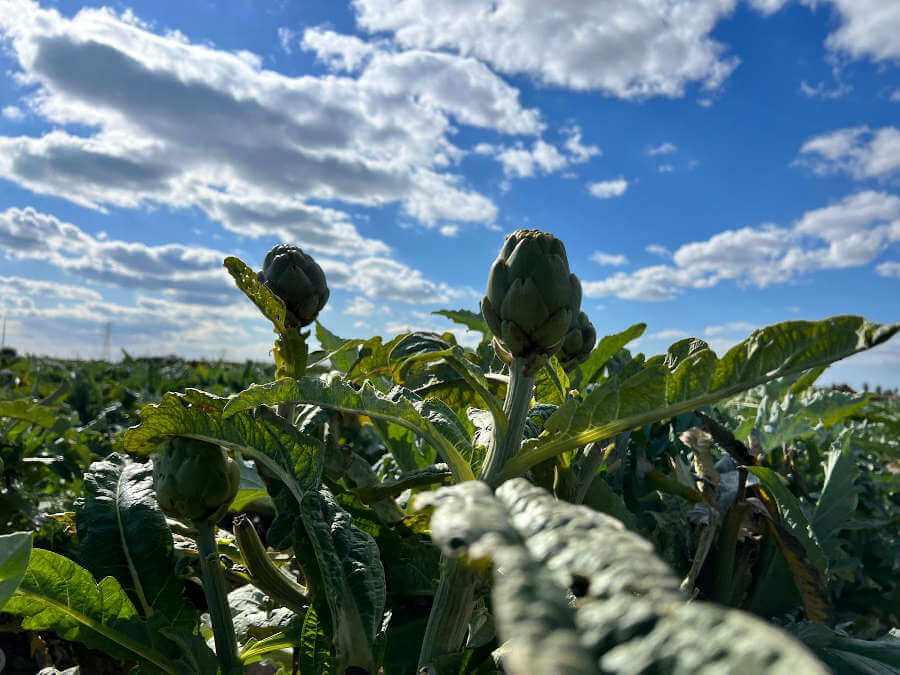
Artichoke Cultivation
Goals and Strategies for Healthy and Productive Artichoke Cultivation
Artichoke cultivation requires precise agronomic planning to achieve vigorous and productive plants. In this article, we propose a comprehensive agronomic management strategy, aiming to: - 1 Stimulate effective rooting. - 2 Reduce stress induced by transplanting the artichoke plant or adverse weather conditions. - 3 Improve artichoke yields with the use of a hormonal strategy - 4 Prevent fungal and bacterial diseases. - 5 Support optimal plant development through fertigation and targeted treatments. |
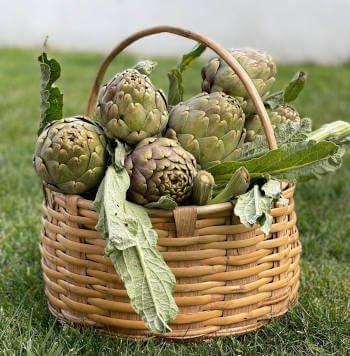
Artichoke sowing
Artichoke planting can be done in several ways, but the most common are direct seeding, sucker division or planting of carducci, small shoots taken from the base of the mother plant.
Direct seeding
Direct sowing of artichokes requires quality seeds, preferably certified to ensure good germination and a bountiful harvest. Before proceeding, it is important to prepare the soil thoroughly. This should be well drained, rich in organic matter and well tilled to encourage root development. Seeds can be sown in rows spaced about 80-100 cm apart, with at least 60-80 cm between plants.
Sucker division
A widely used method is sucker division. This system involves taking well-developed suckers from an adult plant during the dormant period, usually in late summer or early fall. The suckers are then planted directly in the field, ensuring rapid vegetative recovery.
Planting of thistles
Another method is the planting of carducci, or young plants taken from the base of adult plants. This system ensures high productivity and can be done in autumn or spring, depending on the climate of the area.
Would you like to receive our advice? Sign up for our Newsletter - 8% discount immediately for you
|
Period for planting artichokes
The best time to plant artichokes varies by region and climate. In general, in areas with mild climates, the ideal time to plant artichokes is in the fall(September-October), allowing the plants to stabilize before the arrival of cold winter weather. In areas with harsh winters, however, planting or transplanting is recommended in spring (February-March), when the risk of frost is reduced. This allows plants to develop in optimal conditions during spring and summer.
Recommended Interventions
Transplanting Phase: Encouraging Rooting
In the early stages of transplanting, the plant is very fragile and needs to root well in the soil. At this stage, the main goal is to reduce transplant stress and promote rooting with targeted interventions.
Fertigation to promote rooting and stimulate root capillary emission
Just after transplanting, fertigation intervention is essential to ensure and promote good root development.
Aim: To promote rooting and prepare the plant for the vegetative stage.
Products to use:
Foliar treatment Products to be used in mixture:
Aim: To promote rooting and reduce transplant stress. Phosphorus, administered foliar, is also rapidly absorbed and reaches the roots, enhancing root development.
Products to use:
- Affirm (200 g): for control of lepidoptera.
- Epik SL (200 ml): for aphids and other pests.
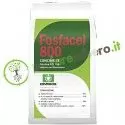
- Phosphacel (250 g): to provide phosphorus to roots.
- Megafol (250 ml): to reduce stress from high temperatures.
Fertigation at 10-12 Days to Strengthen Roots
After 10-12 days after transplanting, fertigation is essential to ensure a balanced supply of nutrients and promote good root development.
Goal: To promote rooting and prepare the plant for the vegetative stage.
Products to use:
- Kendal (3 liters): stress resistance enhancer.
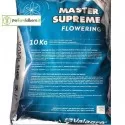
- Master Supreme STARTER 11.42.11 (20 kg): for a balanced supply of nutrients.
Leaf Treatment at 15-20 Days After Transplanting
At this stage, the plant has begun to establish and needs treatment to increase photosynthetic efficiency and prevent disease.
Aim: To support photosynthesis and prevent the development of fungal diseases.
Products to use:
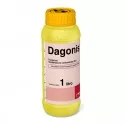
- Dagonis (60 ml): fungicide to prevent powdery mildew and other fungal diseases.
- Phosphacel (250 g): to continue to support rooting.
- Megafol (200 ml): to reduce stress.
- MC Cream (200 ml): to increase photosynthetic efficiency.
Fertigation at 15-20 Days: Calcium and Magnesium Supply
To strengthen the plant and prevent nutritional deficiencies, carry out fertigation 10-15 days after the first one.
Products to use:
- Calmag (25 kg): calcium and magnesium supply.
- Urea Phosphate (25 kg): balanced supply of nitrogen and phosphorus.
Leaf Treatment at 30-35 Days: Strengthening Defenses
At this stage, the plant is growing and needs a copper treatment to strengthen defenses against fungal diseases.
Goal: Enhance resistance against fungal diseases and continue protection against insects.
Products to use:
- Kyprion (200 ml/hl): to prevent diseases such as root rot.
- Affirm ed Epik SL: if necessary, for insect control.
Artichoke Hormonizing (Starting from 8-10 true leaves)
Hormonization is used to stimulate excellent flowering; this is a practice that is also sometimes abused but is very common in professional agriculture. It consists of a series of foliar interventions using gibberellic acid products. Recall that this is a practice that causes great stress to the plant so it is a good practice to combine Berelex (gibberellic acid) with other products in a mixture that help support the plant, below we recommend the foliar treatment(dose per 100 lt of water):
Hormonization is used to stimulate flowering, but it is an intervention that can cause stress to the plant. To avoid problems, it is important to carry out the recommended fertigation before hormonizing.. |
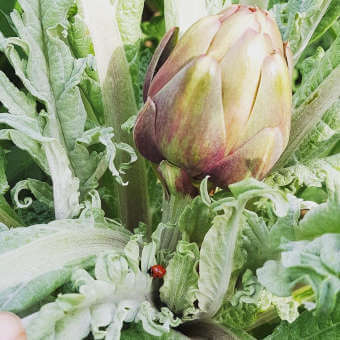
Alternative Hormonization with Organic Products
Goal: Induce flowering in a less aggressive way.
- Fury (500 ml/hl) to stimulate flowering more gradually and naturally for the plant.
Maintenance Fertigation
As the plant develops, it is necessary to ensure a constant supply of nutrients for proper maintenance of artichoke plants.
doses per hectare:
- Calcium nitrate = 15 kg
- Potassium Nitrate = 15 kg
- Green Go 19.19.19 = 25 kg
- Magnesium Nitrate = 4 kg
Monitoring and Preventive Treatments
Monitoring the presence of pests such as aphids and nightshades is essential. To prevent attacks by soil-borne pests, the use of:
Product to use:
- Klozer (2 lt/ha): a mycorrhizae-based product that helps fight soilborne pests.
Products currently registered on Artichoke to prevent fungal diseases:
- Topas (50 ml/hl) for powdery mildew.
- Dagonis (60 ml/hl) against powdery mildew.
- Cabrio WG (50 g/hl) for downy mildew and powdery mildew.
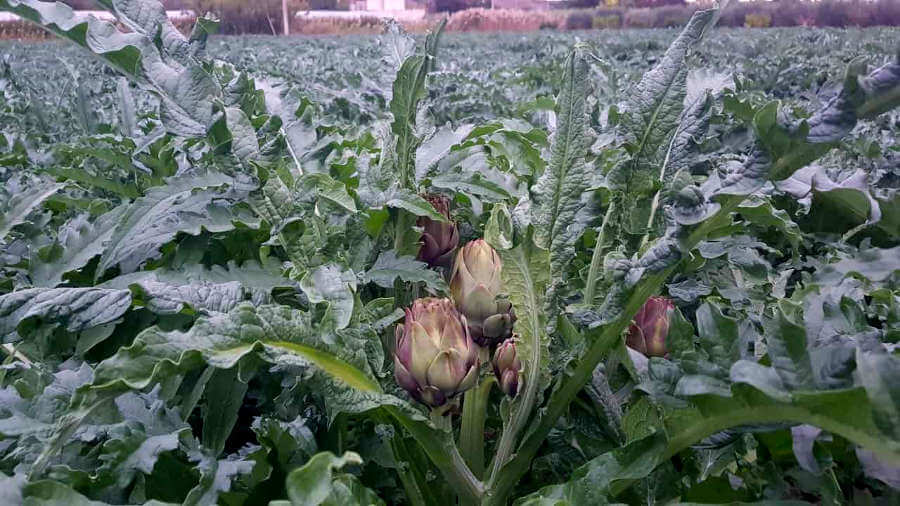
Faq (frequently asked questions) on: artichoke how to grow
When to plant artichokes?
The best time to plant artichokes depends on the climate. In areas with mild climates, it is best to plant them in the fall (September-October), while in areas with harsh winters it is best to do so in the spring (February-March).
When should artichoke plants be cut back?
Artichoke plants are pruned at the end of the harvest, usually in summer. It is important to cut the stems close to the ground to encourage new growth the following season.
How many artichokes does one artichoke plant make?
A single artichoke plant can produce an average of 8-10 artichokes per season, but with the right care and optimal conditions, it can produce even more.
How to tell if an artichoke is ready to be harvested?
An artichoke is ready to be harvested when the head is well-formed, firm and a beautiful green color. If the head begins to open, it is a sign that the artichoke is over-ripening.
How often should artichokes be harvested?
Artichokes can be harvested several times during the season. Typically, 2-3 harvests are done, a few weeks apart, depending on the variety and weather conditions.
Share this content


















 Chronology
 Citrus fruits
 Turf
 Stone fruit
 Olive tree
 Ornamental
 Vegetables
 Actinidia (Kiwi)
 Screw
 Hobbies and insights
 Pome Fruit


